
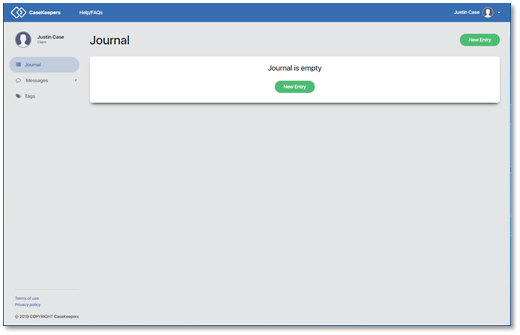
How do I create a new journal entry?
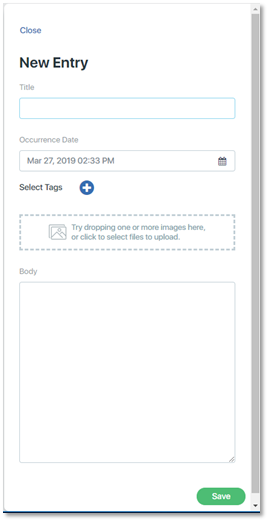
To create your first journal entry, click New Entry on the Journal page.
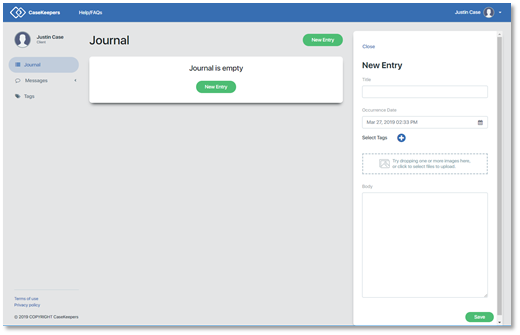
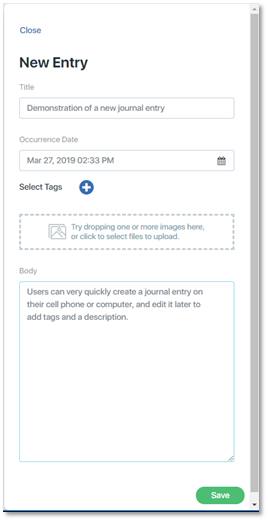
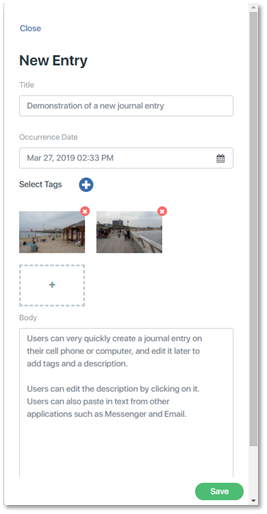
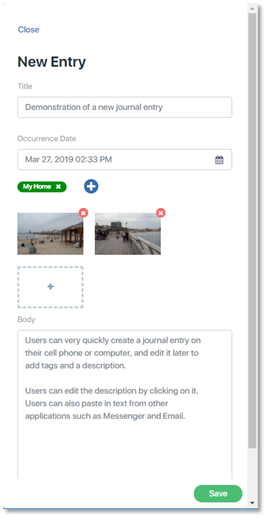
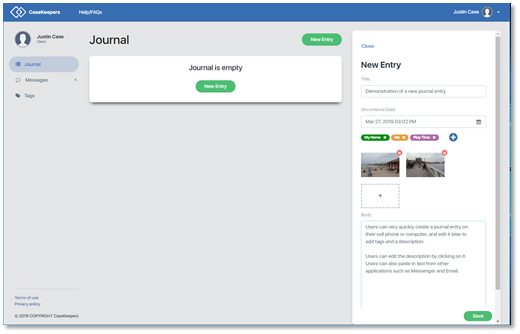
The New Entry details panel will open on the right of the page.
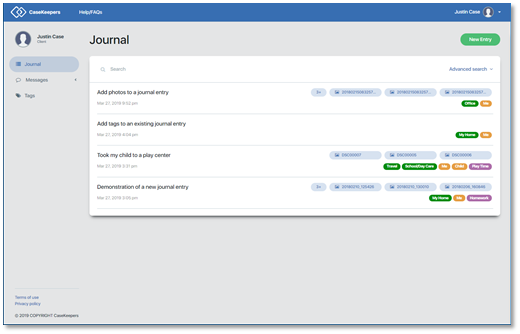
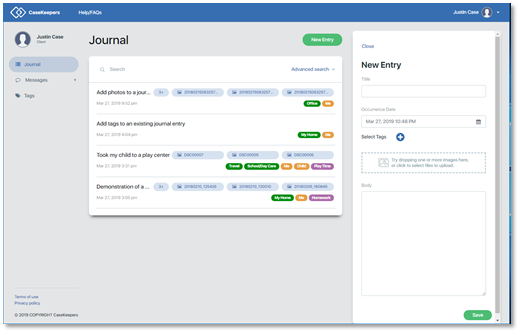
When you have one or more entries in your journal, the Journal page will appear as follows. Click New Entry.
The New Entry details panel will open on the right of the page.
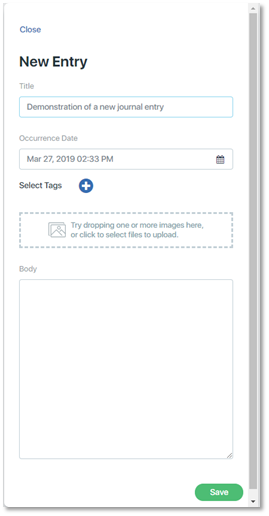
Add a title: Click the Title field. A blue boundary will appear around the field.
Give the journal entry a meaningful, but short title. This is not required. If you don’t enter a title, CaseKeepers will use “Untitled journal entry” as a default title for the entry.
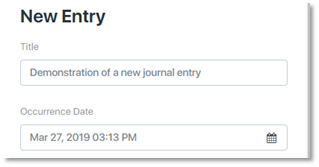
Date of Occurrence: Each journal entry is stored with the date and time it was created. If the event that is being described in the journal entry occurred at a different time or date, enter the date and time of occurrence in the field labeled Occurrence Date. The default value for this field is the date and time when the journal entry was created.
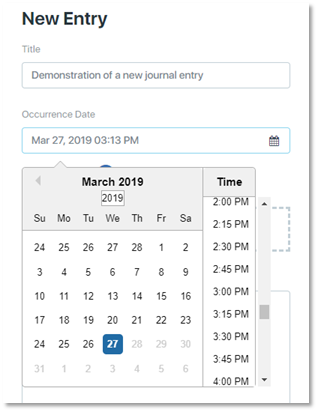
To change the date of occurrence, either type in the date value using mm/dd/yyyy format for the date, and mm:hh AM/PM format for the time, or click on the Occurrence Date field to open the calendar and time widget. Scroll through the calendar and time values to select the desired values. When you click on the time value, the calendar will close. To close the calendar without selecting a value, click anywhere away from the calendar.
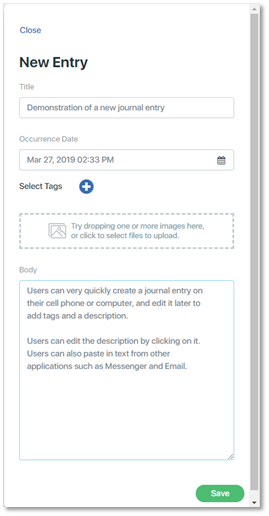
Add notes or a description: Entering text into a journal entry is optional; you can leave the Body field blank. To add notes or a description, click the Body field and type in text.
You can return to and edit the description by clicking on it. You can also paste in text from other applications (e.g., Messenger, email).
Add photos: You can add photos to your journal entry that are stored on your computer. First, use a File Manager program (e.g., Windows Explorer) to find the desired photo or photos.
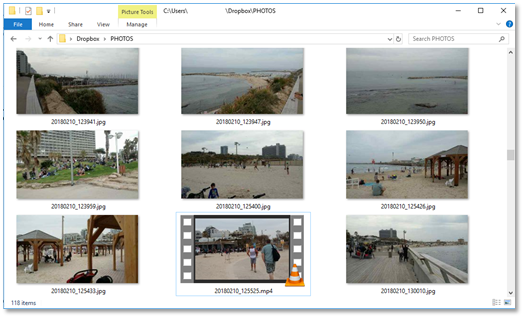
Click on them to select them. To select more than one, hold the Ctrl key while clicking on them.
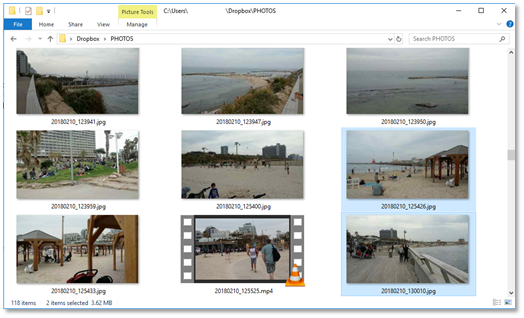
Next, drag the photos to the CaseKeepers browser and drop them into the box in the right panel that says “Try dropping one or more images here, or click to select files to upload”.
Alternatively, you can click on the box labeled “Try dropping one or more images here, or click to select files to upload”. This will open the File Manager. Find the desired photo or photos. Click on them to select them.
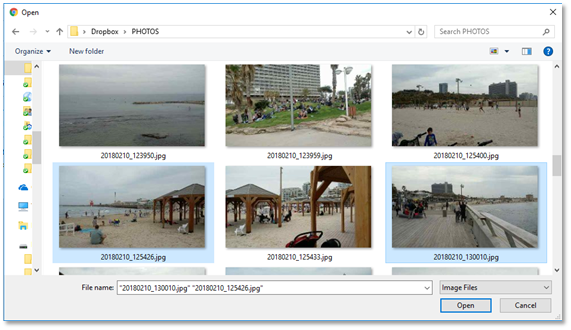
Then click Open in the File Manager. This will add the photos to the journal entry.
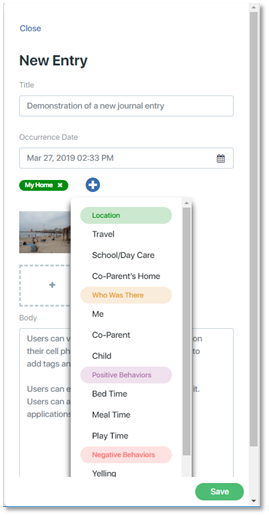
To remove a photo from a journal item, click the red X at the top right corner of the photo in the details panel.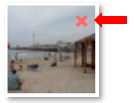 Add tags: To add tags to your new journal entry (or to create an entry using only tags), click the blue and white circle icon to the right of Select Tags. A list of tags will appear. The tags are listed in categories, and color coded by category. Scroll down in the tag list to see the entire list .
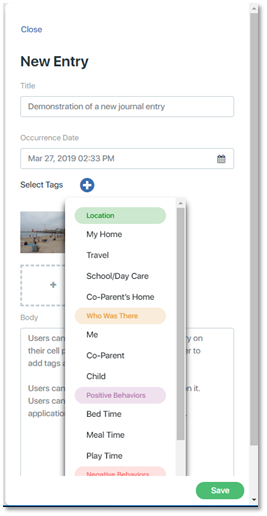
To select and add a tag, click on it. In this example, the tag “My Home” was added. The tag list will close and the selected tag will move to the tag section of the journal entry below the Occurrence Date.
To select another tag, repeat the process. Click the blue and white icon to open the tag list.
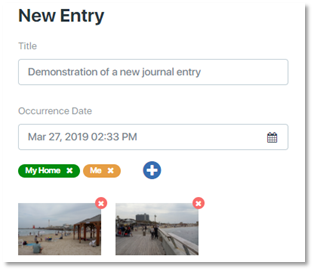
When the list opens, notice that tag(s) previously selected no longer appear in the list. Select a tag by clicking it. The tag “Me” was added.
To deselect a tag, click it in the selected tags list at the top of the page. In this example, the tag “My Home” was deselected.
.
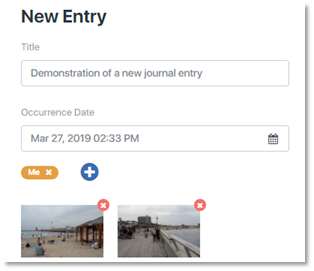
The deselected tag will no longer appear in the list of selected tags . It will appear in the tag list if you re-open it. You can select as many tags as desired by repeating the process. (Selecting multiple tags at one time is available in the mobile app and will be available on the desktop app in a future release.)
When you have finished creating the new journal entry, click Save.
The journal entry will appear with the title, tags, and the date and time it was created. If you attached one or more photos, an icon will appear for each photo with the photo's file name.
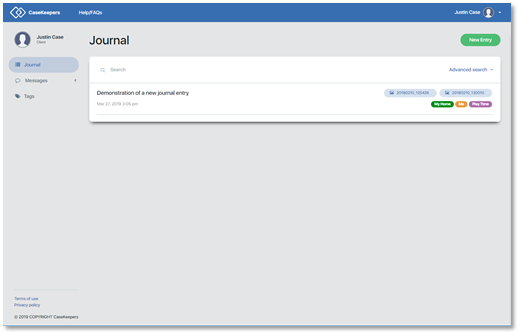
If there are more than 3 photos attached to a journal entry, an icon will appear to show the number additional photos (beyond 3) that are attached to the entry.
