
How do I add to a journal entry one or more photos stored on my computer?
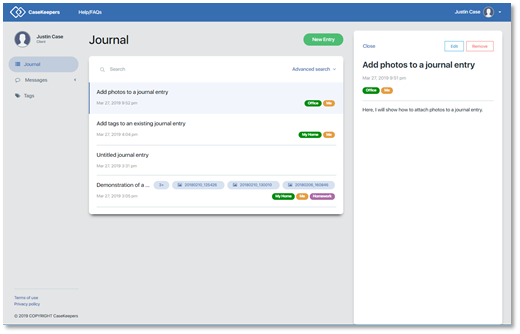
On the Journal page, click on the journal entry to which you want to add a photo.
The details panel will open. Click Edit.
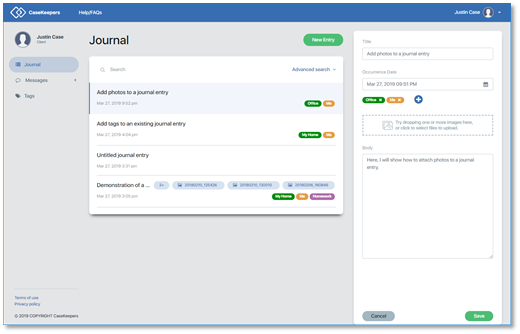
The details panel will go into edit mode.
Next, open a File Manager program (e.g., Windows Explorer) to find the photo or photos you want to attach to the entry.
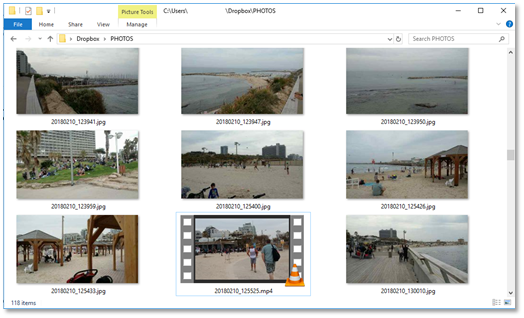
Click on the photos to select them. To select more than one, hold the Ctrl key while clicking on them.
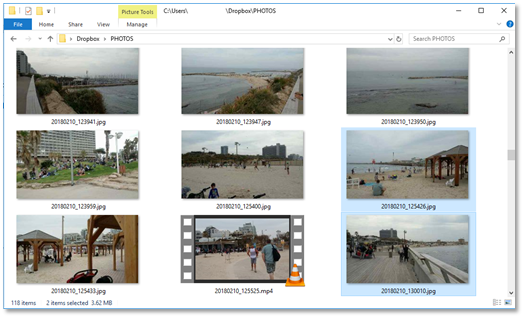
Drag the selected photo or photos to the CaseKeepers browser and drop them into the box in the right panel labeled Try dropping one or more images here, or click to select files to upload.
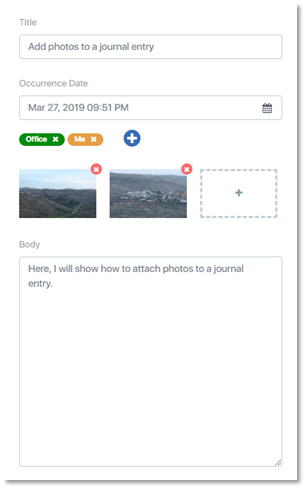
The images will be added to the journal entry.
Alternatively, you can click on the box labeled “Try dropping one or more images here, or click to select files to upload”. This will open the File Manager. Find the desired photo or photos. Click on them to select them.
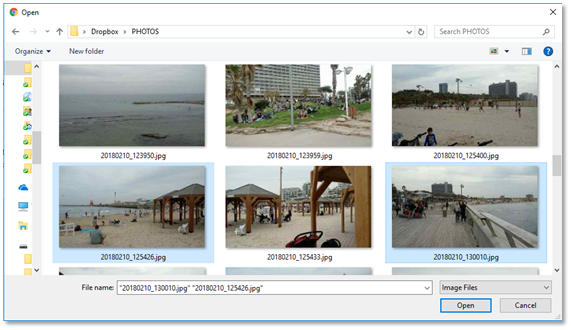
Then click Open in the File Manager. This will add the photos to the journal entry.
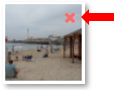
To remove a photo from a journal item, click on the red X at the top right corner of the photo.
When you have finished uploading photos, click Save. CaseKeepers will upload the photos to the server, compress them, lock them to prevent tampering (so they can be used as evidence in court), and add the CaseKeepers logo to the bottom right corner.
While the photos are being uploaded, the Save button displays a revolving icon to show that the photos are being uploaded and to remind you to wait before doing anything further. 
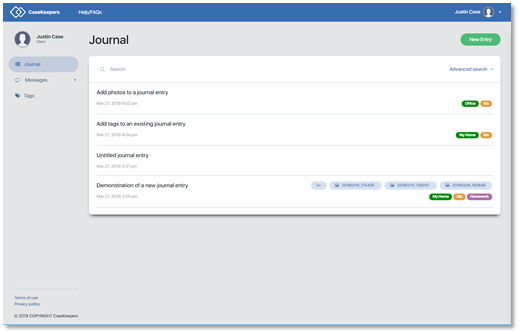
When the Save function is complete, the journal entry is displayed in the Journal page with an icon and the file name for each photo that was attached.

If there are more than 3 photos attached to a journal entry, an icon will appear to show the number additional photos (beyond 3) that are attached to the entry.
