How do I re-open a journal entry and edit the title, tags, photos, date of occurrence, or description?
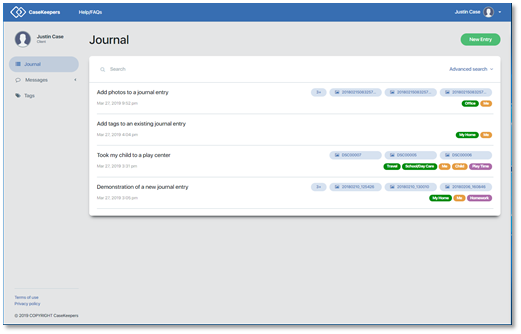
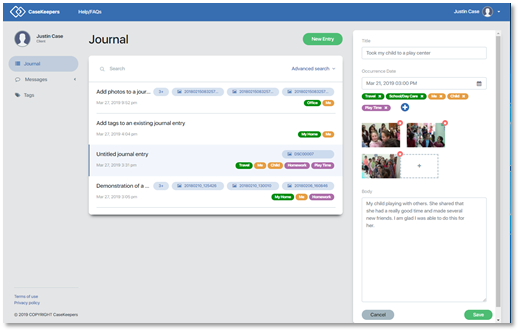
Open the Journal page.

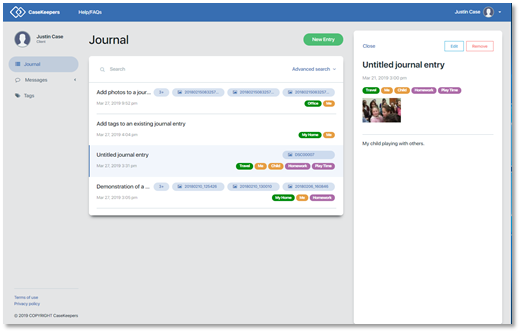
Click the entry you want to re-open and edit. This will open the details panel. Click Edit.
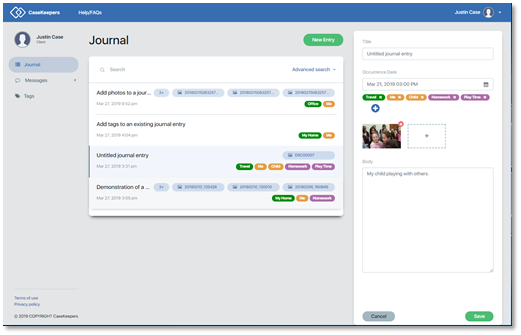
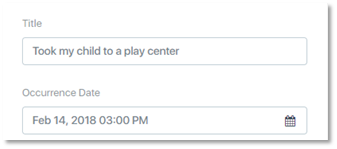
Here you can edit the title, tags, photos, date of occurrence, and description. To edit the title, click anywhere on the Title field.
Move the cursor to where you want to edit, and edit the text as desired.
To change the date of occurrence, either type in the date value using mm/dd/yyyy format for the date, and mm:hh AM/PM format for the time, or click on the Occurrence Date field to open the calendar and time widget. Scroll through the calendar and time values to select the desired values. When you click on the time value, the calendar will close. To close the calendar without selecting a value, click anywhere away from the calendar.
To edit the description, click on the Body field. Edit the text as desired.
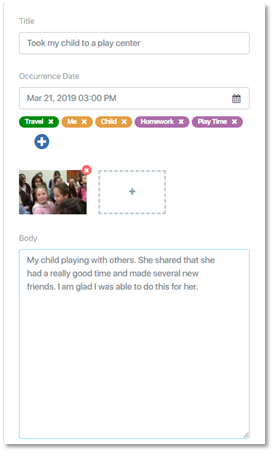
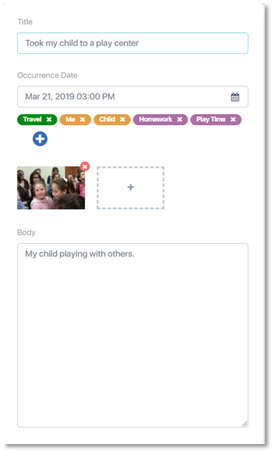
To remove an existing tag, click on the tag in the selected tags space . The tag will be deselected and removed from the panel. In this example, the tag “Homework” was removed.

To add a tag, click on the blue and white circle icon. The list of tags will appear. Scroll down to see the entire list of tags.
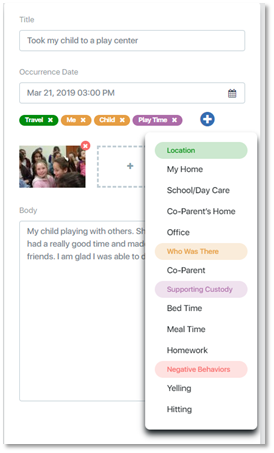
Click the tag to be added. In this example, the tag “School/Day Care” was added.
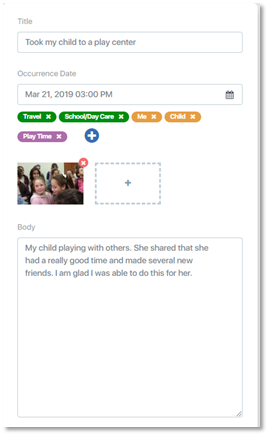
To add a photo or photos that are stored on your computer, either drag-and-drop the photos on the box with the plus sign, or click on the box to open your File Manager.
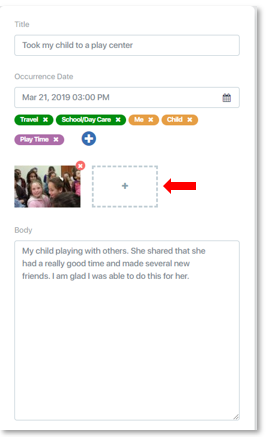
The File Manager program (e.g., Windows Explorer) will open so you can find and select a photo (or photos) from your computer. Find the photos you want to add to the journal entry, select them, then click Open in the File Manager program. The photos will be added to the panel.
When you have finished all desired edits, click Save. The edited journal entry will be displayed on the Journal page.